
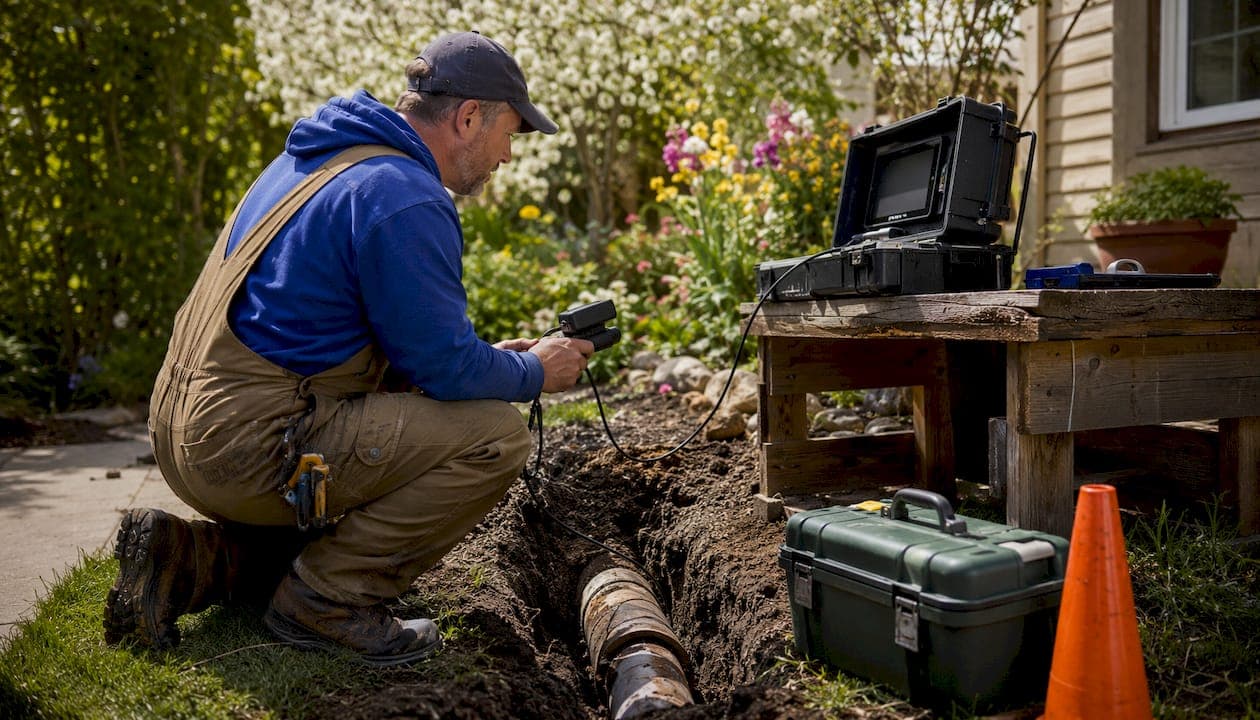
If you're dealing with repeated sewage backups, soggy patches in your yard, or drains that never seem to clear, your sewer lateral may need professional evaluation — and possibly full residential sewer line replacement. Most homeowners pay a wide range for a complete job, with costs varying based on pipe length, depth, method, and restoration needs. Before authorizing any replacement, schedule an HD sewer camera inspection (sewer scope) first. That single step can save you thousands by confirming whether you need a full replacement or a targeted repair.
Three immediate actions to take right now:
- Stop using fixtures that back up into the house to prevent sewage from entering living spaces.
- Document every incident with dates, photos, and short videos of yard puddles or backup locations.
- Schedule a camera inspection before signing any replacement contract.
When replacement is confirmed, trenchless methods — Cured-In-Place Pipe (CIPP) lining and pipe bursting — are preferred for most residential scenarios because they preserve your yard and driveway. Open-trench excavation is reserved for fully collapsed pipes, severe misalignment, or situations where the pipe cannot be accessed for a bursting pull.
Table of Contents
- What signs tell you the sewer line needs a professional look?
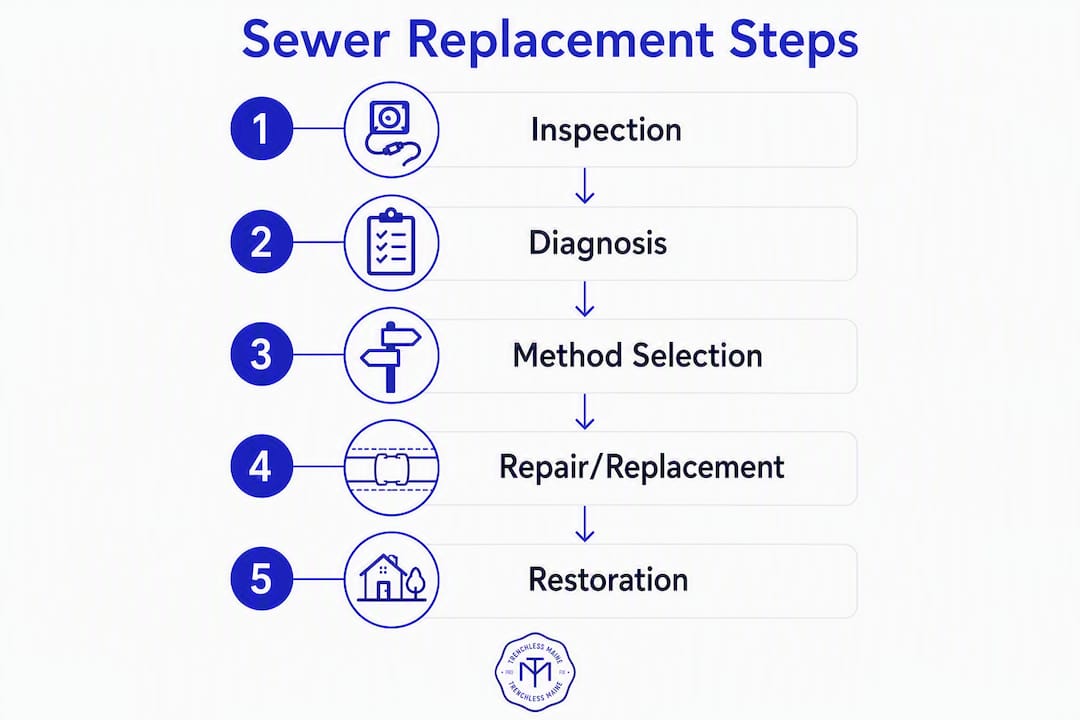
- How professionals diagnose the problem before any repair begins
- Repair or replace? How to make the right call
- What are your trenchless options and when does each one apply?
- When open-trench replacement is the only option
- What does residential sewer line replacement actually cost?
- Who is responsible, what permits are required, and will insurance help?
- How do you choose the right sewer contractor?
- How long does the job take, and how long will the new pipe last?
- Key Takeaways
- The case for getting the diagnosis right before anything else
- Trenchlessmaine brings camera-first sewer service to Maine homeowners
- Useful sources
What signs tell you the sewer line needs a professional look?
Common sewer line issues that homeowners can spot themselves include:
- Frequent or multiple slow drains throughout the house, not just one fixture
- Sewage backups into tubs, toilets, or floor drains, especially in the lowest level
- Foul odors coming from yard areas or floor drains with no obvious source
- Soggy or unusually lush grass running in a strip across your yard — the leaking sewage acts as a fertilizer
- Sudden pest activity (rats, cockroaches) entering through cracked pipe sections underground
- Gurgling sounds from toilets when you run a sink or washing machine
The key distinction: when one drain runs slow, you likely have a localized clog. When multiple fixtures in different rooms back up simultaneously — say, the kitchen sink and the basement toilet — that points to a main lateral problem, not an isolated blockage. Root intrusion in Maine sewer lines is one of the most common culprits behind this pattern, particularly in older clay or Orangeburg pipe.
Pro Tip: Before the technician arrives, photograph any yard sogginess, note the dates of every backup, and write down which fixtures were in use when the problem occurred. That information helps a camera operator know exactly where to look and can shorten diagnostic time.
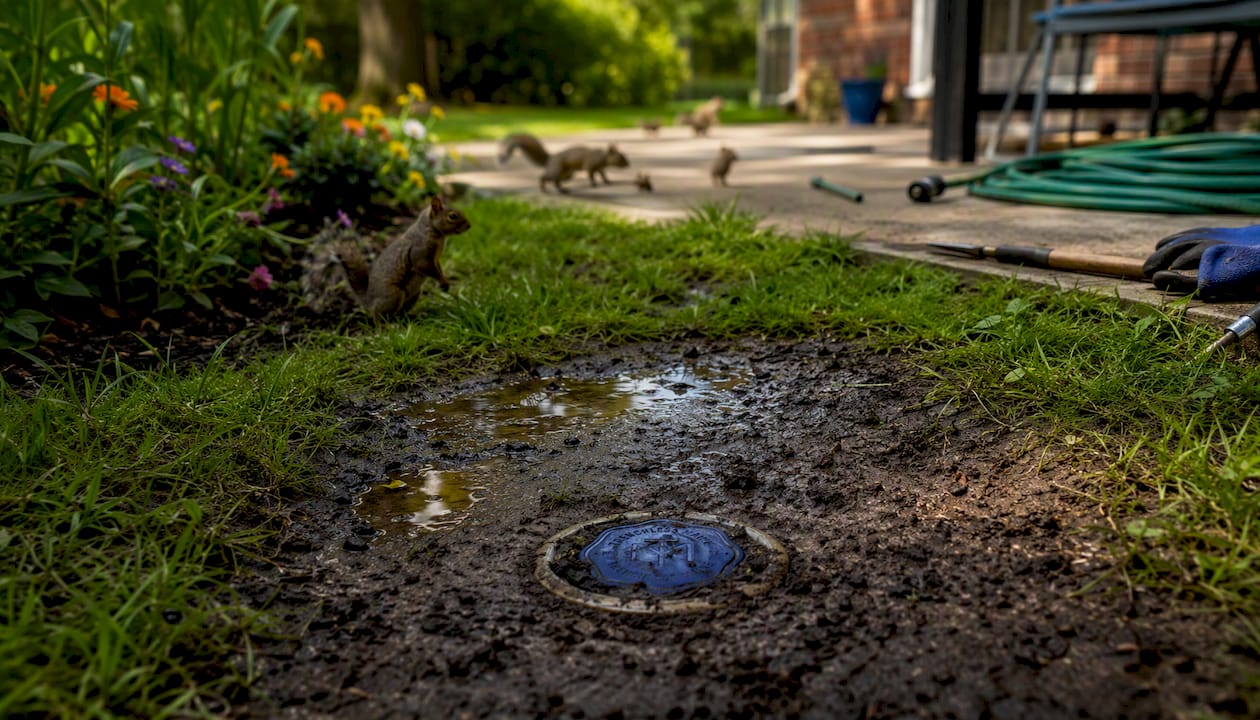
Call for emergency service — don't wait for a scheduled appointment — if raw sewage is backing up inside the house or if you smell hydrogen sulfide (rotten egg odor) coming from multiple drains at once. Those are signs of an active failure that can create a health hazard.
How professionals diagnose the problem before any repair begins
Accurate diagnosis is the most important step in the entire process. An HD sewer camera inspection prevents unnecessary work and produces video evidence that supports a targeted repair or a justified replacement recommendation. Without it, you're authorizing work based on guesswork.
Here's what a professional diagnostic sequence looks like:
- Hydro jetting first (when appropriate). Before inserting a camera into a heavily blocked line, technicians often use high-pressure hydro jetting to clear roots, grease, and debris. A clean pipe gives the camera a clear view of the pipe wall condition.
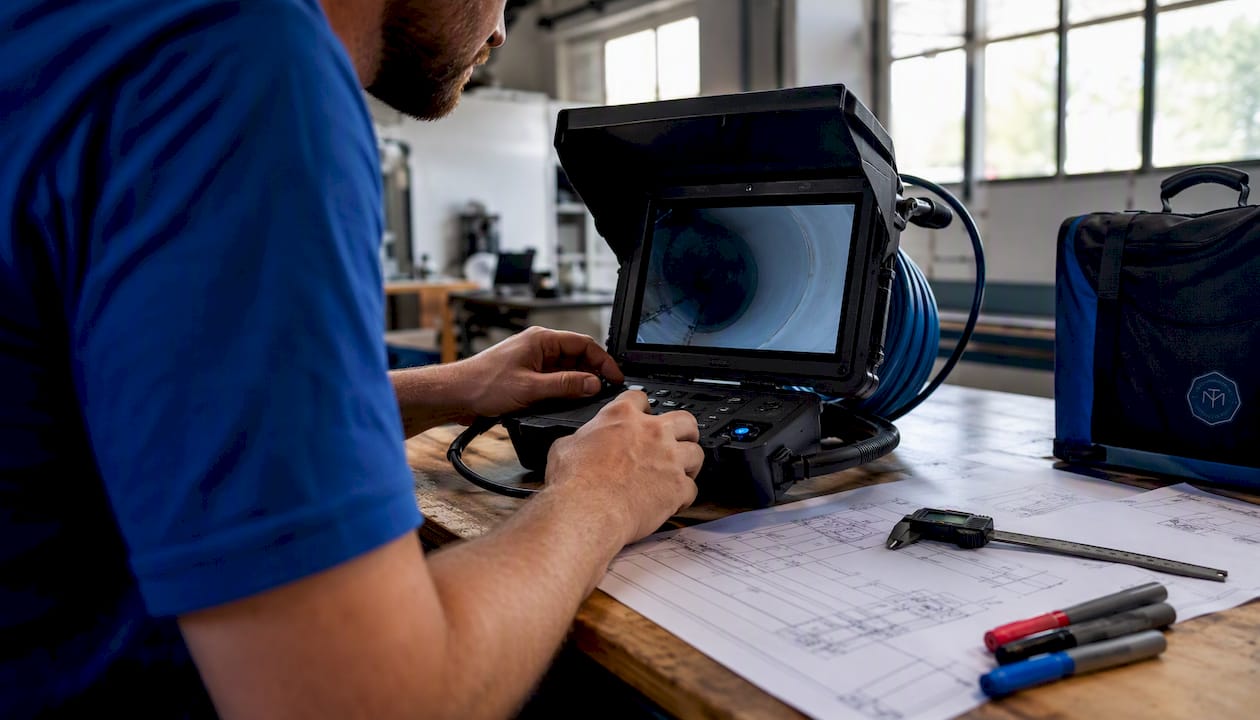
- HD camera inspection (sewer scope). A waterproof camera is fed through a cleanout or access point and pushed through the lateral to the municipal connection. The operator records footage with timestamps and distance markers so damage locations are documented in linear feet from the access point.
- Written inspection report. You should receive a recorded video file, a written report identifying damage type and location, and a recommended repair method tied directly to what the camera found.
A camera inspection typically costs $150–$500 and can often save money by identifying a spot repair that makes full replacement unnecessary. Demand the video file — not just a verbal summary. That footage is your protection against an inflated scope of work, and you'll want it if you ever sell the home.
Callout: Why the camera report matters. A written report with footage and damage location details is the document that justifies every dollar in your replacement estimate. Never approve a full replacement without it.
Repair or replace? How to make the right call
Not every damaged sewer line needs full replacement. The decision comes down to the extent of damage, the pipe material, and the cost math.
Replace when:
- The camera shows a collapsed or bellied pipe section (standing water visible in the footage)
- The pipe is Orangeburg (tar-paper composite) or deteriorated clay with widespread cracking
- Multiple breaks or root intrusions appear along the full run, not just one section
- Repair cost approaches 50% of the full replacement estimate — at that threshold, replacement usually makes more financial sense
- The pipe has failed repeatedly despite prior cleaning or spot repairs
Repair when:
- The camera identifies a single joint failure or a localized root intrusion at one point
- The rest of the pipe is structurally sound and the material is PVC or intact cast iron
- A CIPP liner can restore the full run without excavation
Concrete scenario examples help clarify the decision:
- Single joint failure after root intrusion, rest of pipe intact → targeted spot repair or short CIPP section. Cost is a fraction of full replacement.
- Multiple breaks, bellied sections, and Orangeburg pipe throughout a 60-ft run → full replacement, trenchless if alignment allows, open-trench if collapsed.
- Aging cast iron with recurring root intrusion but no collapse → full CIPP lining as a renewal, which restores structural integrity without excavation.
Pipe age matters too. If your home was built before 1970 and the sewer lateral has never been replaced, the pipe material alone — Orangeburg, clay, or early cast iron — is often reason enough to plan for replacement rather than repeated repairs. Protecting against future root intrusion is easier when the pipe is structurally sound.
Pro Tip: Ask your contractor to show you the camera footage and point to the damage on screen. If they can't explain why the full line needs replacement based on what the camera shows, get a second opinion before signing.
What are your trenchless options and when does each one apply?
Trenchless methods have become the preferred standard for most residential sewer jobs because they often complete within 24 hours and preserve landscaping and hardscaping, reducing overall project cost despite higher per-foot material prices.
Cured-In-Place Pipe (CIPP) lining
A resin-saturated felt liner is inserted into the existing pipe, inflated against the pipe wall, and cured with hot water, steam, or UV light. The result is a new structural pipe inside the old one. CIPP works well when the host pipe is cracked, root-infiltrated, or corroded but still holds its basic shape. The trade-off is a slight reduction in internal diameter (typically 6–12mm), which is rarely significant for residential laterals. Warranty expectations for CIPP range from 40–50 years.
Pipe bursting
A bursting head is pulled through the old pipe, fracturing it outward while simultaneously pulling a new HDPE pipe into place behind it. This method works when the pipe alignment is reasonably straight and pullable. It's the right choice when the old pipe is too deteriorated for lining but the alignment doesn't require excavation. HDPE pipe carries an expected lifespan of 50–100 years.
Slip-lining
An older technique where a smaller-diameter pipe is inserted inside the existing host pipe and grouted in place. Slip-lining results in a more significant diameter reduction than CIPP and is used less frequently in residential work, but it remains a viable option for certain pipe sizes and configurations where other trenchless methods aren't feasible.
| Method | Disruption | Per-Foot Cost Band | Best For | Expected Lifespan |
|---|---|---|---|---|
| CIPP lining | Minimal | $60–$250 | Cracked/root-infiltrated pipe, intact shape | 40–50 years |
| Pipe bursting | Minimal | $60–$250 | Deteriorated pipe, pullable alignment | 50–100 years |
| Slip-lining | Minimal | Varies | Specific sizes, limited access | 40–50 years |
| Open-trench | High | $60–$250 | Collapsed, bellied, or misaligned pipe | 50–100 years (PVC/HDPE) |
Pro Tip: Always request a post-installation camera run after any trenchless job. That footage confirms the liner or new pipe is fully seated, the joints are sealed, and there are no voids — and it gives you documentation for warranty claims.
When open-trench replacement is the only option
Some pipe conditions rule out trenchless methods entirely. A fully collapsed pipe has no interior space for a liner or bursting head. Severe misalignment — where the pipe has shifted laterally or dropped significantly — prevents a bursting head from tracking correctly. In these cases, traditional excavation is the right call, not a contractor shortcut.
The work sequence for open-trench replacement:
- Trenching along the pipe run, typically 3–8 feet deep depending on frost depth and original installation grade.
- Pipe removal of the failed section, including any root mass or collapsed material.
- New pipe installation (usually PVC or HDPE) with proper slope and bedding.
- Backfill and compaction in lifts to prevent future settling.
- Surface restoration — lawn, driveway, or hardscape repair depending on what was above the pipe.
What to budget for beyond the pipe work itself:
- Driveway or concrete restoration can add $300–$350 per linear foot for sections under a slab, per Angi's cost data.
- Landscape repair runs $1–$25 per square foot depending on the surface type.
- Right-of-way work near the street may require traffic control and a separate municipal permit.
Ask for staged photos throughout the job — trench open, pipe in place before backfill, and surface after restoration. Those photos document that the work was done correctly and protect you if settling or surface damage appears later. For guidance on managing neighborhood disruption during sewer work, especially when the work affects the right-of-way, it's worth reviewing what to expect before the crew arrives.
What does residential sewer line replacement actually cost?
Sewer line replacement costs vary widely by method, pipe length, depth, soil conditions, and restoration needs. Per Angi's 2026 data, running new sewer pipe averages $150 per linear foot including materials and labor, with a range of $50–$250 per linear foot depending on method and conditions.
Primary cost drivers:
- Method: Trenchless runs $60–$250/ft; open-trench pipe work runs $60–$250/ft but adds excavation at $4–$12/ft extra.
- Pipe length and depth: Deeper pipes require more excavation time and shoring.
- Soil type: Rock or clay soil increases excavation cost significantly.
- Access difficulty: Pipes under driveways, slabs, or mature landscaping cost more to reach.
- Permits and right-of-way fees: Can add several hundred to several thousand dollars.
- Hardscape restoration: Concrete slab sections can reach $300–$350/ft.
- Cleanout installation: Adding or upgrading cleanouts adds to the total but simplifies future maintenance.
Two scenario examples:
-
50-ft shallow run across open lawn, open-trench PVC replacement: Pipe work at roughly $100/ft = $5,000, plus lawn restoration at $3–$5/sq ft for a 3-ft-wide trench = $450–$750. Total estimate: approximately $5,500–$6,000 before permits.
-
75-ft run partially under a concrete driveway, CIPP lining: Lining at $150/ft average = $11,250, minimal surface restoration needed. Total estimate: approximately $12,000–$13,500 including inspection and permits. The restoration cost savings from avoiding driveway demolition often make trenchless methods the more economical choice, even at a higher per-foot rate.
When comparing quotes, ask every contractor for an itemized breakdown: pipe work, excavation, restoration, permits, cleanouts, and inspection fees listed separately. A lump-sum quote makes it impossible to compare bids accurately.
Who is responsible, what permits are required, and will insurance help?
Homeowner vs. city responsibility: The sewer lateral from your house to the property line is your responsibility. From the property line to the municipal main, responsibility varies by municipality — some cities cover that section, others do not. Check with your local public works department or sewer authority before assuming the city will share the cost.
Permits: Municipal permits are required for virtually all sewer line work. Permit fees vary by jurisdiction but can add several hundred to several thousand dollars to a project. Work that extends past the property line into the right-of-way typically requires a separate right-of-way permit and may require traffic control. Skipping permits is a costly mistake — unpermitted sewer work can create serious problems at resale and may require the work to be redone at your expense.
Insurance: Standard homeowners policies typically exclude sewer-line replacement caused by age or normal wear. Two endorsements worth asking your insurer about:
- Service-line endorsement: Covers underground utility lines, including sewer laterals, for damage from causes like root intrusion or ground movement. Usually inexpensive to add.
- Water backup endorsement: Covers damage inside the home from a backed-up sewer, but generally does not cover the pipe replacement itself.
Documents to collect from your contractor:
- Permit copies (keep originals with your home records)
- Municipal inspection sign-off after work is complete
- Recorded pre- and post-job camera footage
- Written warranty covering both materials and workmanship
- Before-and-after photos of the work area
These documents protect your resale value and give you recourse if the work fails prematurely.
How do you choose the right sewer contractor?
The contractor you hire matters as much as the method they use. Here's what to ask every bidder:
- Can you show me the camera footage and explain the damage location?
- Why is this method the right one for my specific pipe condition?
- Is the estimate itemized by line item (pipe work, excavation, restoration, permits)?
- Will you pull all required permits and schedule municipal inspections?
- What does the restoration scope include, and is it in writing?
- What is the project timeline from start to final inspection?
- What warranty do you offer on materials and workmanship?
- Can you provide references from similar jobs in the last 12 months?
- What is your contractor license number and insurance carrier?
Red flags to walk away from:
- Refuses to do a camera inspection before quoting replacement
- Asks for a large cash-only deposit upfront
- Provides a vague scope with no itemized breakdown
- Cannot produce a license number or proof of insurance
- Offers no written warranty on the completed work
Trust signals to require:
- Recorded camera footage before and after the job
- Written, itemized estimate signed before work begins
- License and insurance documentation on file
- Warranty terms in writing (material and workmanship, minimum 1 year, ideally longer)
- Local references you can actually call
Pro Tip: Collect at least three itemized quotes. The lowest bid is not always the best value — a contractor who skips the camera inspection or excludes restoration from the scope will cost you more in the end.
Reviewing what differentiates trenchless providers in your area can help you understand what industry-standard service looks like before you start comparing bids.
How long does the job take, and how long will the new pipe last?
| Task | Typical Timeline |
|---|---|
| HD camera inspection | 1–3 hours |
| Hydro jetting (pre-repair cleaning) | 1–4 hours |
| CIPP lining (trenchless) | 1–2 days |
| Pipe bursting (trenchless) | 1–3 days |
Factor permit lead time into your project schedule. Some municipalities schedule inspections within a day or two; others take longer. A contractor who pulls permits on day one keeps the project moving.
Expected pipe lifespan by material:
- PVC and HDPE: 50–100 years under normal conditions
- CIPP lining: 40–50 years, backed by manufacturer warranties
- Cast iron (new installation): 50–75 years
Factors that shorten lifespan include aggressive tree root systems near the pipe, significant ground movement (freeze-thaw cycles are a real factor in Maine), and deferred maintenance. A sewer line age and replacement timeline guide can help you understand when your specific pipe material is approaching end of life. Post-job camera verification is the single best way to confirm the installation is correct before the trench is backfilled or the liner is accepted.
Key Takeaways
Trenchless methods are the preferred path for most residential sewer replacements when the pipe holds its alignment, because they preserve landscaping, reduce restoration costs, and often finish within one to two days.
| Point | Details |
|---|---|
| Schedule a camera inspection first | A $150–$500 sewer scope prevents unnecessary replacement and documents the exact damage location. |
| Know the full cost range | Most residential sewer replacements run $3,000–$25,000; per-foot rates range from $50–$250 depending on method and conditions. |
| Trenchless when feasible | CIPP lining and pipe bursting preserve your yard and often cost less overall when restoration savings are factored in. |
| Permits and documentation matter | Unpermitted sewer work creates resale problems; always get permit copies, inspection sign-offs, and warranty terms in writing. |
| Trenchlessmaine for Maine homeowners | Trenchlessmaine offers camera-first diagnosis, CIPP lining, pipe bursting, and hydro jetting across Maine with warranties up to 50 years. |
The case for getting the diagnosis right before anything else
Most homeowners I talk to have already been told they need a full replacement before anyone has put a camera in the pipe. That's the part of this industry that frustrates me most. A camera inspection is not a formality — it's the entire basis for the decision. When you skip it, you're either paying for work you don't need or approving a repair that won't hold because the contractor didn't see the full picture.
The other thing homeowners consistently underestimate is restoration cost. A trenchless job that costs more per foot than open-trench excavation can still be the cheaper project once you price out driveway demolition and replacement, lawn regrading, and the weeks of disruption that come with a full dig. The math almost always favors trenchless when there's anything significant above the pipe.
What I'd tell any homeowner reading this: demand the camera footage, ask for an itemized quote, and don't sign anything until you understand exactly what's included in the restoration scope. The contractors who do this work right are transparent about all of it. The ones who aren't will cost you more in the end, one way or another.
Trenchlessmaine brings camera-first sewer service to Maine homeowners
When your sewer lateral needs attention, Trenchlessmaine's process starts with an HD camera inspection — not a guess. That footage drives every recommendation, whether the answer is a targeted CIPP lining, pipe bursting, hydro jetting, or open-trench replacement when excavation is genuinely required. Every job includes a written, itemized estimate, permit handling, and a post-installation camera run to verify the work.

Trenchlessmaine serves residential, commercial, and municipal clients across Maine, with over 50 years of combined team experience and material warranties up to 50 years on qualifying CIPP installations. The service list covers the full scope: camera inspection, hydro jetting, CIPP lining, pipe bursting, drain clearing, and restoration coordination. You get a clear timeline, a documented scope, and no surprises on the final invoice.
If you're ready to find out what your pipe actually needs, request a trenchless repair estimate and get a camera inspection scheduled before the problem gets worse.
Useful sources
The following sources were used to compile cost figures, method descriptions, and permit and insurance guidance in this guide. Keep municipal permit copies and camera inspection reports with your home records — they protect your resale value and support any future warranty claims.
- Sewer line replacement cost 2026 — Angi: national cost data including per-foot ranges by method and restoration cost examples.
- Sewer line replacement cost guide — HomeCostLab: camera inspection cost range and insurance coverage guidance.
- Sewer line replacement — Plummber.blog: permit requirements, common damage signs, and replacement triggers.
- Sewer line replacement cost calculator — ProjectCostPro: depth, access, and surface restoration cost factors.
- Sewer pipe liner repair — Servpro: overview of CIPP lining and pipe bursting methods.
- Can a broken sewer line be repaired without digging? — Baethke Plumbing: trenchless method benefits and timeline comparison.
- HD sewer camera inspection — JetPipe Plumbing: why camera inspection is the required first diagnostic step.