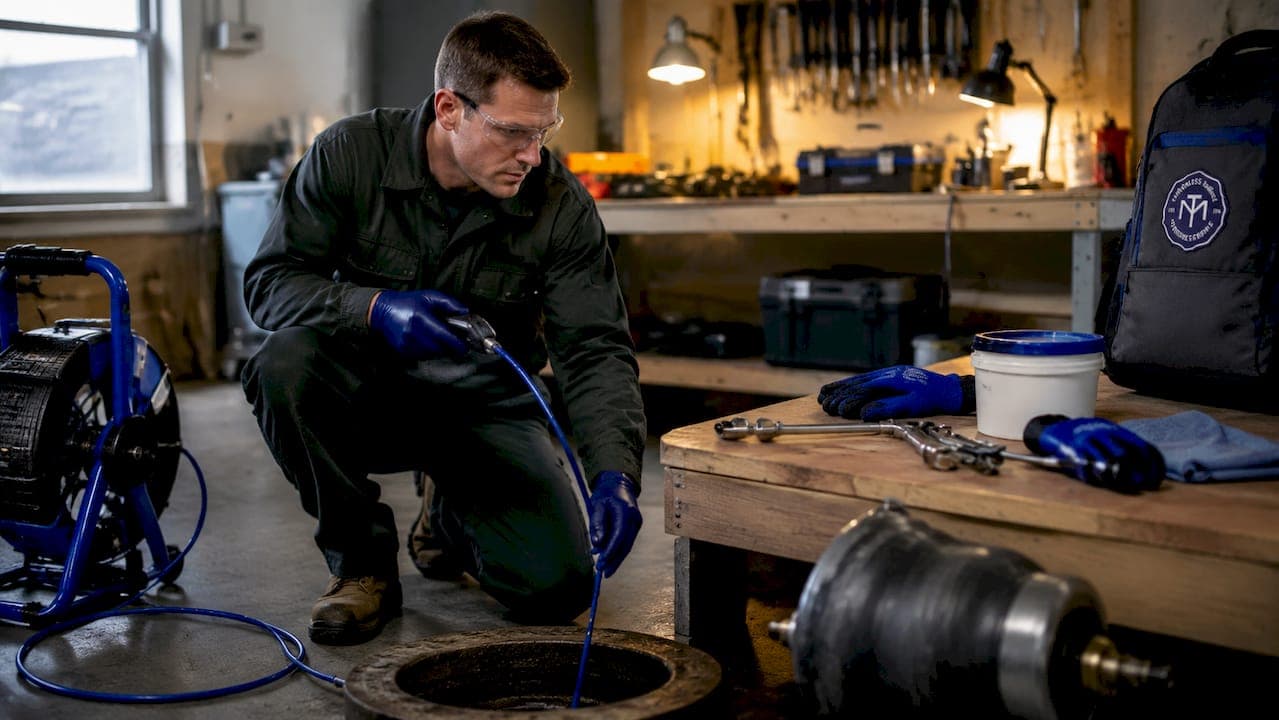
Pipe patching is defined as a localized, no-dig repair method that installs a cured-in-place liner only at the confirmed damage point in a sewer or drain pipe. Unlike full pipe replacement or whole-pipe relining, this technique targets a single crack, joint failure, or root intrusion without disturbing the rest of the line. The industry term for the liner material is a cured-in-place patch, often abbreviated as CIPP spot repair. Trenchlessmaine uses this method to fix isolated defects across Maine properties without tearing up yards, driveways, or landscaping. For homeowners facing a single problem area, pipe patching is frequently the fastest and most cost-effective path to a restored, watertight pipe.
What is pipe patching and how does the process work?
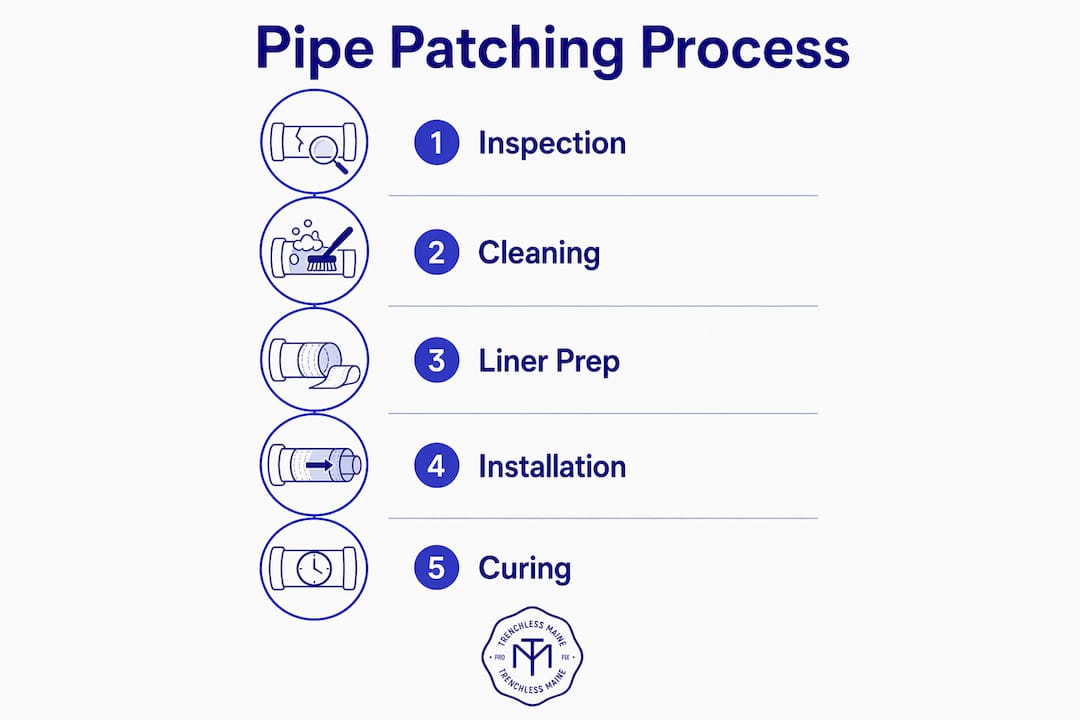
The pipe patching process follows six clear steps, each critical to a lasting repair.
-
CCTV camera inspection. A technician runs a closed-circuit camera through the pipe to locate the exact damage point. This step confirms the defect type, its position, and the pipe's overall condition before any repair begins.
-
Thorough pipe cleaning. The damaged area gets cleaned of roots, grease, and debris using hydro jetting or mechanical cutting. Effective pipe patching requires thorough cleaning because incomplete removal of roots and debris causes poor bonding and patch failure.
-
Liner preparation. A fiberglass or felt liner is saturated with epoxy resin and cut to size. The liner overlaps the damage by at least 12 inches on each side to create a watertight seal beyond the defect edges.
-
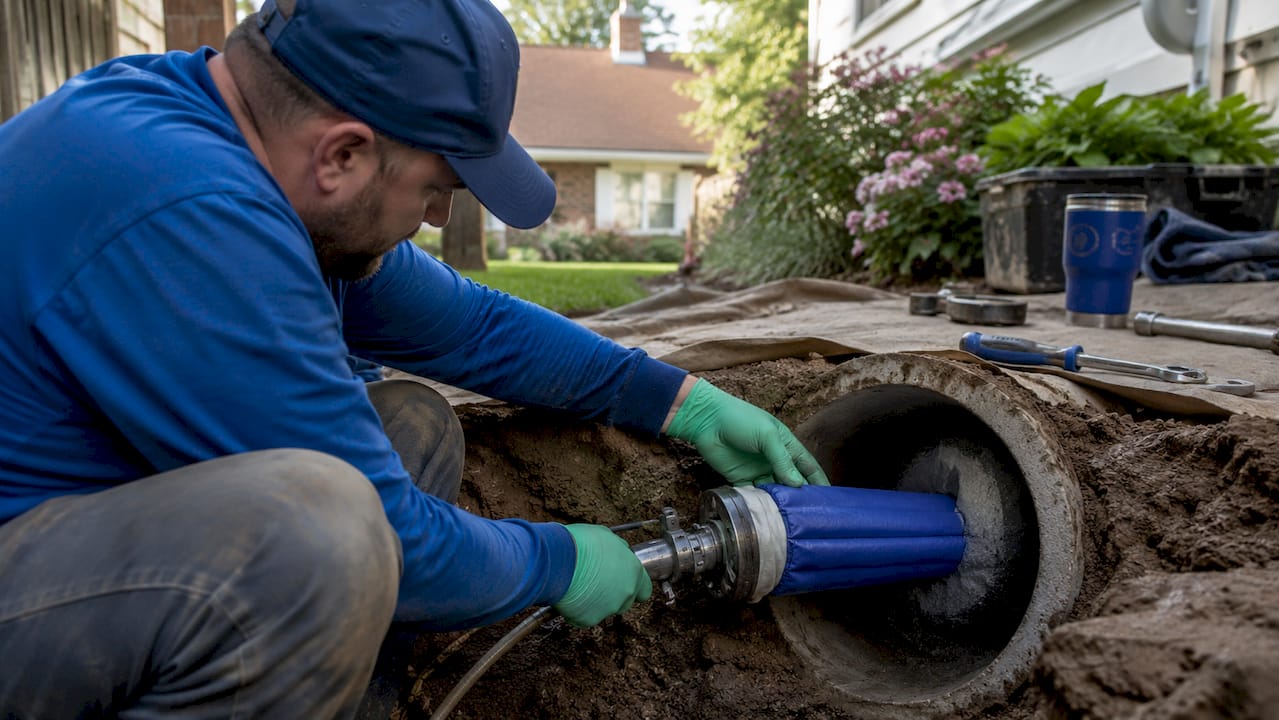
Liner insertion via inflatable packer. The saturated liner wraps around an inflatable packer, which a technician feeds into the pipe to the exact repair location. The packer inflates and presses the liner firmly against the pipe wall.
-
Resin curing. The epoxy resin cures in place, bonding to the host pipe and forming a hard, structural patch. Curing time varies by resin type and pipe temperature but typically completes within a few hours.
-
Packer removal and final inspection. The packer deflates and gets pulled out, leaving the patch bonded to the pipe wall. A follow-up camera pass confirms the patch is seated correctly and the line flows freely.
Pro Tip: Ask your contractor to share the post-repair camera footage. A reputable technician will always document the finished patch so you have proof the repair was completed correctly.
Residential pipe patching techniques suit pipe diameters from 100mm to 300mm (4 to 12 inches), which covers the vast majority of home sewer laterals. That range means most standard residential drain lines qualify for this repair without any special equipment.
When is pipe patching the right choice?
Pipe patching works best for isolated, clearly defined damage. Knowing when it applies and when it does not saves you money and prevents a repeat repair call.
Situations where patching is the right call:
- A single crack or fracture at one location in an otherwise sound pipe
- One failed pipe joint allowing groundwater infiltration
- A localized root intrusion at a specific joint, with the rest of the pipe intact
- A small section of pipe deformation that has not spread along the line
Situations where patching is not appropriate:
- Systemic corrosion running the length of the pipe
- Pipe bellying or widespread joint separation at multiple points
- Pipes with four or more isolated damage points spread along the line
When multiple damage points exist along a lateral, full-length trenchless lining becomes more cost-effective than patching each spot individually. Patching four separate locations can cost more than a single full-pipe CIPP lining job. That math matters when you are comparing quotes.
Local building codes also influence the decision. Some municipalities require a full rehabilitation if a pipe has deteriorated beyond a certain threshold. A professional CCTV inspection gives you the condition data needed to satisfy code requirements and choose the right repair scope.
Pro Tip: Request a written condition assessment from your inspector before agreeing to any repair. A good assessment maps every defect by location and severity, so you can make an informed choice between patching and full lining.
Patching only seals localized defects and does not extend the entire pipe's lifespan. If your pipe has systemic corrosion, a patch at one point leaves the rest of the pipe vulnerable. Understanding this distinction protects you from spending money on a repair that does not solve the underlying problem.
You can read more about how to recognize when a full rehabilitation is needed in this guide on signs you need pipe lining.
What are the benefits and limitations of pipe patching?
Pipe patching delivers real advantages for homeowners with isolated pipe damage. It also has clear limits that you need to understand before committing to the repair.
Key benefits:
- No excavation. Your yard, driveway, and landscaping stay intact. There is no trench to fill and no surface to restore after the job.
- Fast completion. Repairs complete within a single day in most cases, meaning minimal disruption to your household routine.
- Lower cost for isolated damage. Patching one or two defects costs significantly less than relining the full pipe or excavating for replacement.
- Long service life. A well-installed patch lasts 25 to 50 years under good conditions. That lifespan is comparable to many full-pipe rehabilitation methods.
- Preserves the host pipe. The patch bonds to the existing pipe wall, adding structural strength at the repair point without removing any original pipe material.
Key limitations:
- Spot repair only. The patch fixes the defect it covers. It does nothing for the rest of the pipe.
- No benefit for systemic deterioration. If your pipe is corroding throughout, a patch at one location is not a solution. It is a temporary measure that delays a larger repair.
- Quality-dependent results. Poor cleaning or improper liner installation leads to early failure. The patch is only as good as the preparation work behind it.
- May require future full lining. If additional defects develop over time, you may eventually need a full-length CIPP lining anyway. Factor that possibility into your long-term budget.
For a broader look at non-invasive pipe repair options available to Maine homeowners, Trenchlessmaine covers the full range of trenchless methods and their appropriate applications.
How much does pipe patching cost?
Pipe patching costs depend on the number of defects, pipe size, and site accessibility. The table below shows typical price ranges.
| Repair scope | Typical cost range |
|---|---|
| Single-point patch | $1,500–$2,500 |
| 2–3 patches in one visit | $2,500–$4,000 |
| Full-length CIPP lining (comparison) | Generally higher per project |
| Traditional excavation repair | Highest overall cost |
A single-point pipe patch typically costs between $1,500 and $2,500. Patching two to three locations in one visit usually runs $2,500 to $4,000. Those figures reflect the labor, materials, and camera inspection bundled into the job.
Pipe diameter affects cost directly. Larger pipes require more liner material and a bigger packer, which adds to the price. Accessibility matters too. A cleanout that is easy to reach keeps labor time low. A pipe buried under a concrete slab or in a tight crawl space adds complexity and cost.
The most important cost factor is an accurate diagnosis. A thorough CCTV inspection before any repair prevents scope creep. Without it, a contractor may quote for one patch and discover three more defects once the camera goes in. That surprise drives up the final bill.
Pro Tip: Always get a camera inspection report before accepting a repair quote. A written report with footage lets you compare quotes accurately and confirms the contractor has actually seen the damage.
For a detailed breakdown of how patching compares to full lining on a cost-per-foot basis, the pipe lining cost guide from Trenchlessmaine walks through the economics clearly.
What steps should homeowners take before and after pipe patching?
Preparing properly before the repair and following up correctly afterward protects your investment and extends the life of the patch.
-
Schedule a professional CCTV inspection first. Do not skip this step. Camera footage gives you an objective record of every defect, its location, and the pipe's overall condition. It also forms the basis for an accurate repair quote.
-
Get a detailed written quote. The quote should specify the number of patches, liner material, pipe diameter, and what the post-repair inspection includes. Vague quotes lead to disputes.
-
Clear access to cleanouts and work areas. Move vehicles, outdoor furniture, or stored items away from drain cleanout locations. Technicians need clear access to feed equipment into the pipe.
-
Avoid using drains during the curing period. After the patch is installed, the resin needs time to cure fully. Your contractor will tell you how long to keep water out of that line. Follow that window precisely.
-
Monitor for recurring symptoms after repair. Slow drains, gurgling sounds, or wet spots in the yard after a patch job signal a problem. Contact your contractor immediately if any of these appear within the first few weeks.
-
Schedule periodic inspections going forward. A camera check every few years catches new defects before they become emergencies. Regular maintenance is far cheaper than emergency repairs.
Key takeaways
Pipe patching is the most cost-effective trenchless repair for isolated sewer damage, but it only works when applied to the right pipe conditions.
| Point | Details |
|---|---|
| Targeted repair method | Pipe patching fixes one defect at a time, not the entire pipe system. |
| CCTV inspection is non-negotiable | Camera inspection before repair confirms damage location and prevents costly surprises. |
| Cost scales with defect count | Single patches run $1,500–$2,500; multiple defects may make full lining more economical. |
| Long service life when done right | A properly installed patch lasts 25–50 years under normal conditions. |
| Cleaning determines success | Thorough root and debris removal before liner installation is the single biggest factor in patch durability. |
What I've learned after years of trenchless repairs
Most homeowners come to me after a plumber has told them they need to replace the whole pipe. In a surprising number of those cases, a camera inspection reveals one or two isolated defects on an otherwise sound line. A targeted patch fixes the problem at a fraction of the replacement cost.
The mistake I see most often is applying a patch to a pipe that is too far gone. When a pipe has widespread corrosion or four or more separate damage points, patching each one individually costs more than a full CIPP lining and leaves the pipe structurally weak between the patches. The honest answer in those cases is full rehabilitation, not spot repair.
Cleaning is where I see the most shortcuts taken. A patch installed over a root mass or a grease deposit will fail within months. The preparation work is unglamorous, but it determines whether the repair lasts 30 years or 3. I always tell homeowners to ask their contractor specifically how they plan to clean the pipe before the liner goes in.
My advice: get the camera footage, read the condition report, and ask your contractor to explain why patching is the right choice for your specific pipe. A contractor who cannot answer that question clearly is not the right contractor for the job.
— John
Pipe repair options from Trenchlessmaine
If a camera inspection has confirmed isolated damage in your sewer line, a professional pipe patch may be all you need to restore full function without digging up your property.

Trenchlessmaine specializes in no-dig sewer repair across Maine, including targeted pipe patching, full CIPP lining, and hydro jetting. The team starts every project with a thorough camera inspection to confirm the exact repair scope before any work begins. That approach means no guesswork and no unexpected costs. Whether your pipe needs a single patch or a full rehabilitation, Trenchlessmaine provides a clear diagnosis and a repair plan built around your property's actual condition. Contact Trenchlessmaine to schedule your inspection and get a written quote.
FAQ
What is pipe patching in simple terms?
Pipe patching is a no-dig repair that installs a short epoxy-saturated liner only at the damaged section of a sewer or drain pipe, sealing cracks or joint failures without excavation.
How long does a pipe patch last?
A well-installed pipe patch lasts 25–50 years under normal conditions, making it a durable long-term repair for isolated pipe defects.
Is pipe patching effective for root intrusion?
Pipe patching is effective for localized root intrusion at a single joint, provided the roots are fully removed and the pipe is thoroughly cleaned before the liner is installed.
When should I choose full pipe lining over patching?
Full pipe lining is the better choice when four or more damage points exist along the pipe, or when systemic corrosion affects the entire line, since patching multiple points individually typically costs more than a single full-length lining.
How much does pipe patching cost for a homeowner?
A single-point patch typically costs $1,500–$2,500. Patching two to three locations in one visit usually runs $2,500–$4,000, depending on pipe diameter and site accessibility.