Cured-in-place pipe lining, known in the industry as CIPP, is defined as a trenchless rehabilitation method that installs a resin-saturated liner inside a damaged pipe, curing it into a rigid, jointless tube without excavation. This cost-effective pipe lining guide covers every stage of the process, from material selection to final inspection, so you can make smart decisions before spending a dollar. Trenchless projects typically cost between $1,900 and $6,000, with an average around $2,900, which is far less than traditional open-cut replacement once you factor in surface restoration and landscaping. Permits and camera inspections add to that figure, so building them into your budget from day one prevents surprises. Whether you manage a single-family home in Maine or a multi-unit rental property, the right method and a clear plan are what separate a successful repair from a costly redo.
What materials and tools are needed for affordable pipe lining
Choosing the right materials is the single biggest lever you have on total project cost. Buying the wrong resin or skipping a proper inspection tool forces expensive rework, so get this part right first.
Core materials for CIPP and spray lining
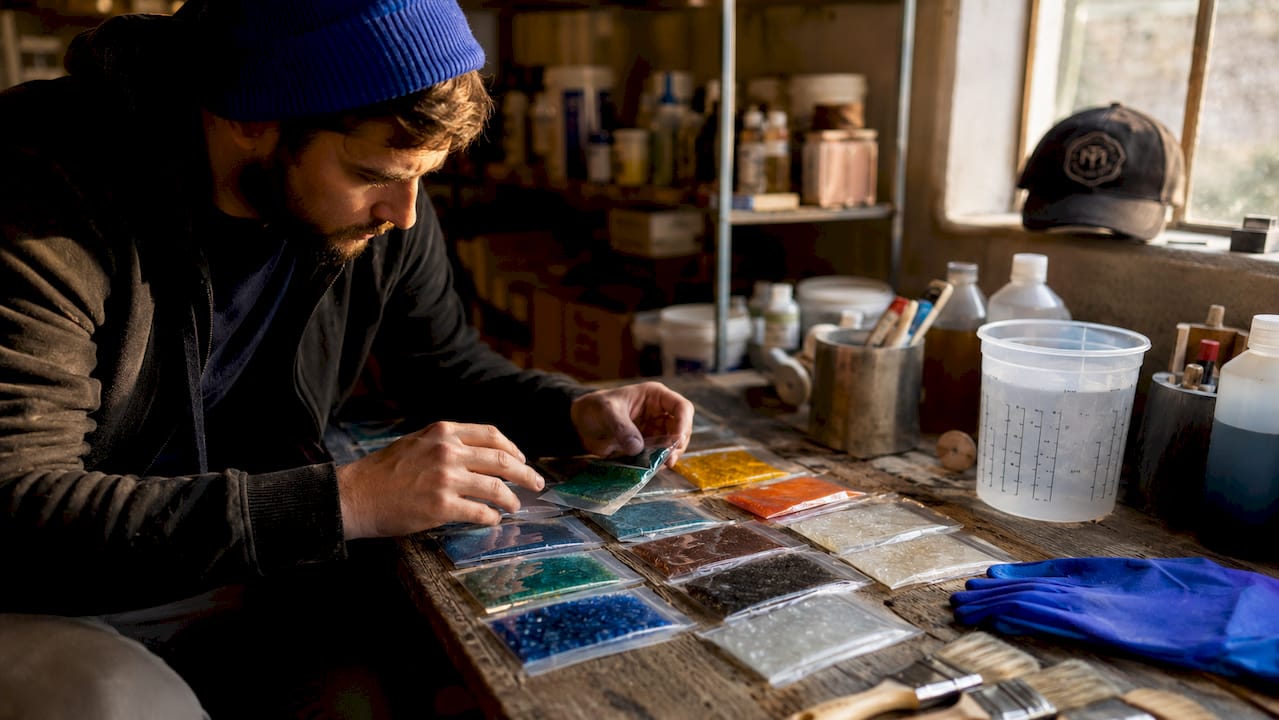
The two most common material systems are epoxy or polyester resin-saturated felt liners for CIPP, and polyurea coatings for spray lining. Polyurea spray lining cures in seconds to minutes, making it one of the fastest options for manholes and shorter pipe runs where a semi-structural solution is acceptable. CIPP felt liners come in fiberglass or needle-felt versions; fiberglass-reinforced liners cost more upfront but deliver higher structural strength for pipes with significant deformation. Resin kits are sold by the gallon, and you will need to calculate volume based on pipe diameter, wall thickness, and liner length before ordering.
Tools and equipment checklist
You need the following before starting any lining project:
- CCTV inspection camera for pre- and post-installation assessment
- Hydro jetter or mechanical root cutter to clean the pipe before liner insertion
- Resin mixing and wet-out equipment (trays, rollers, or vacuum impregnation bags)
- Inversion drum or pull-in-place winch depending on your chosen insertion method
- Curing source: hot water boiler, steam generator, or UV light train
- Safety gear: gloves, respirator rated for styrene vapors, eye protection, and coveralls
Renting a UV curing train for a single residential job is far cheaper than buying one. Equipment rental companies in Maine and across the Northeast carry hydro jetters and CCTV cameras by the day.
Pro Tip: Use NASSCO PACP defect coding during your pre-inspection. NASSCO PACP standards classify defects on a five-point severity scale, which tells you precisely whether a pipe needs cleaning, lining, or full replacement. This one step eliminates guesswork and prevents over-spending on lining a pipe that actually needs replacement.
Permits are a real line item. Camera inspections alone run $175 to $350, and permits can reach $1,000 depending on your municipality. Call your local building department before purchasing materials.
How to perform cost-effective pipe lining step by step
The CIPP installation process follows a defined sequence. Skipping or rushing any step is the most common cause of liner failure and the fastest way to turn a budget repair into a full replacement.
-
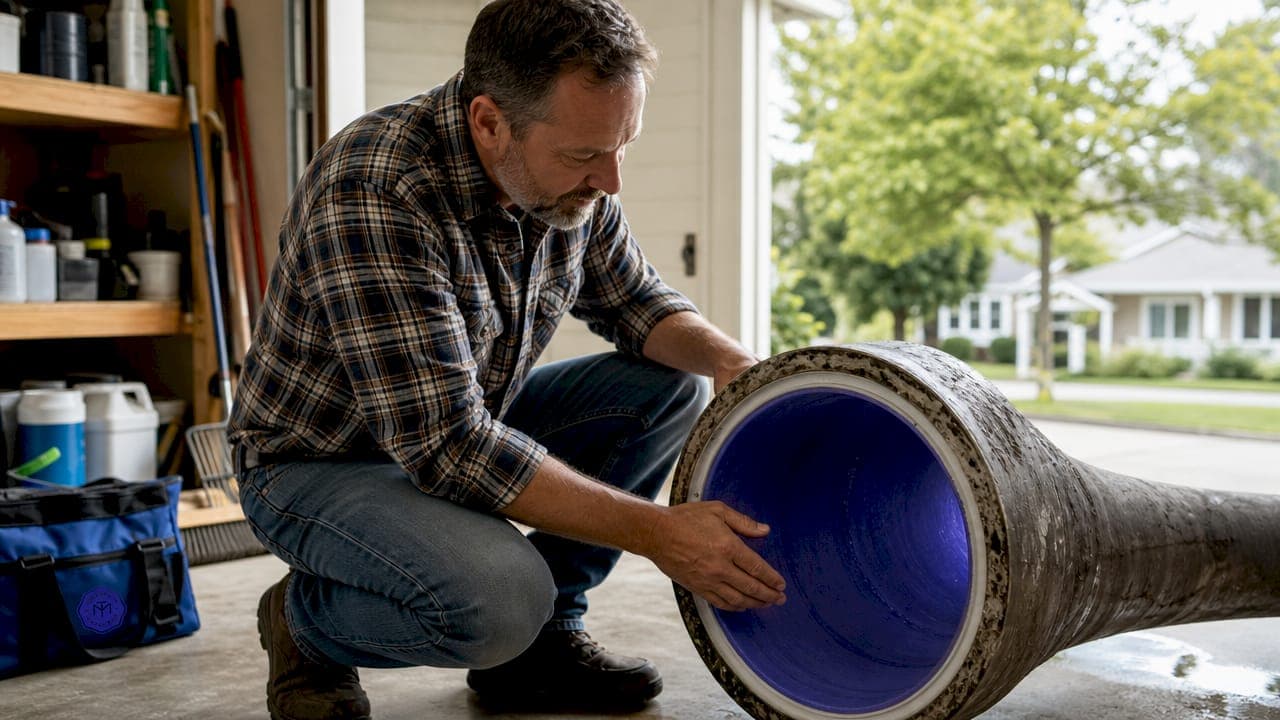
Run a pre-installation CCTV inspection. Feed a camera through the pipe to document every crack, root intrusion, joint offset, and pipe deformation. Record footage and note the exact location of each defect. This footage also serves as your baseline for the post-installation comparison.
-
Clean the pipe thoroughly. Use a hydro jetter to remove grease, scale, and root intrusion. For heavy root blockages, run a mechanical root cutter first, then follow with hydro jetting. The liner will not bond properly to a dirty pipe wall.
-
Measure and cut the liner. Cut the felt or fiberglass liner to the exact pipe length, adding six inches on each end for overlap at the access points. Confirm the liner diameter matches the inside diameter of the host pipe.
-
Saturate the liner with resin. Mix the resin according to the manufacturer's ratio, then apply it evenly across the liner using rollers or a vacuum impregnation bag. Uneven wet-out is the leading cause of soft spots and liner failure. DIY resin wet-out uniformity is the primary technical challenge in CIPP installation, not the concept itself.
-
Insert the liner using inversion or pull-in-place method. Inversion uses water or air pressure to push the liner through the pipe, turning it inside out as it travels. Pull-in-place uses a winch to draw the liner through, then inflate it against the pipe wall. Inversion is more common for residential sewer laterals.
-
Cure the liner. Introduce hot water, steam, or UV light depending on your resin type. CIPP curing methods include hot water, steam, and UV light, and residential jobs typically complete in a single day. Follow the resin manufacturer's cure time exactly. Pulling heat too early leaves the liner soft and structurally compromised.
-
Reinstate branch connections. Use a robotic cutter or manual reinstatement tool to reopen any lateral connections that the liner has covered. Missing this step blocks flow to connected fixtures.
-
Run a post-installation CCTV inspection. Confirm full contact between the liner and host pipe, check for wrinkles or voids, and document the finished condition. This footage is your warranty record.
Pro Tip: Schedule your lining job during warmer months if you are in Maine. Cold ambient temperatures slow resin cure times and can cause incomplete curing if your heat source is undersized. If you must work in winter, rent a larger boiler than the minimum spec.
How do different pipe lining methods compare in cost?
Selecting the right method is not about finding the cheapest option on paper. Cost-effectiveness depends on matching pipe condition and access to the right lining method, not just minimizing the first line item.
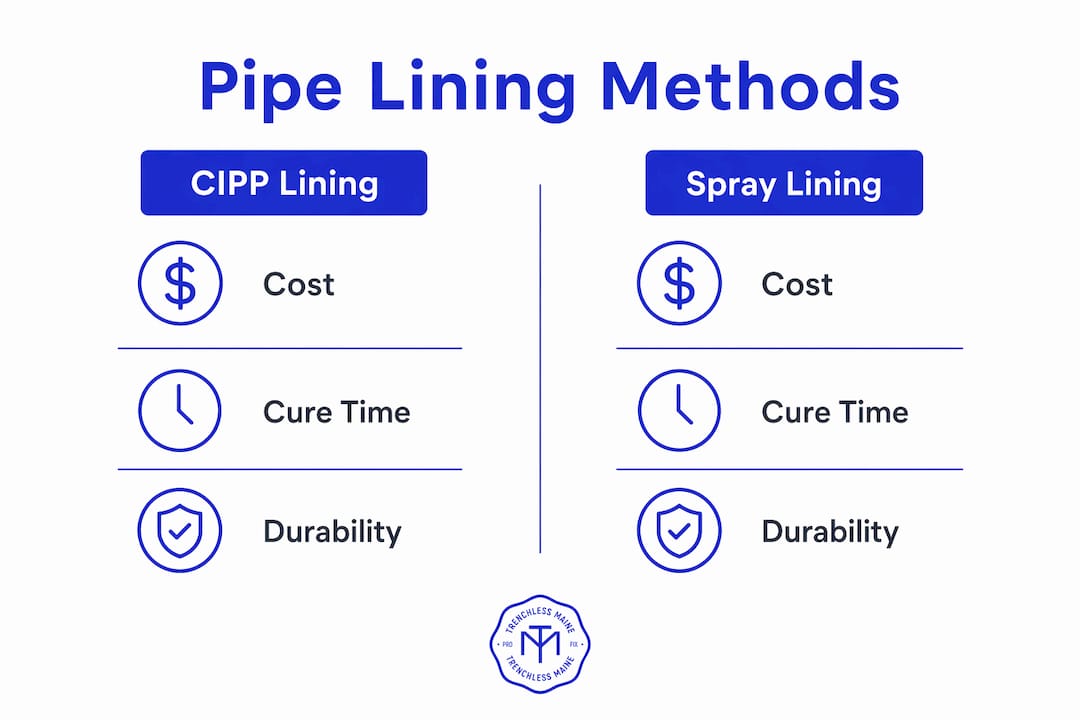
| Method | Cost per linear foot | Cure time | Best use case | Durability |
|---|---|---|---|---|
| CIPP lining | $80 to $250 | 2 to 8 hours | Cracked or root-invaded sewer laterals | 50+ years |
| Polyurea spray lining | Lower than CIPP for manholes | Seconds to minutes | Manholes, short pipe sections, chemical exposure | 20 to 30 years |
| Sliplining | Lower material cost | Same day | Large-diameter pipes with access pits | 30 to 50 years |
| Pipe bursting | Comparable to CIPP | Same day | Severely deteriorated pipes needing upsizing | 50+ years |
Trenchless lining avoids excavation, surface restoration, and traffic control costs that make open-cut replacement significantly more expensive under paved driveways or landscaped yards. For a 50-foot residential sewer lateral with moderate cracking and root intrusion, CIPP is almost always the most cost-effective choice. Polyurea spray lining makes more sense for manhole rehabilitation or short sections where structural reinforcement is not the primary goal. Sliplining requires access pits at both ends, which adds excavation cost and partially offsets the lower material price.
Key factors that shift the cost comparison:
- Pipe diameter: Larger pipes require more resin and thicker liners, pushing CIPP cost toward the $250 per foot ceiling.
- Pipe condition: Pipes with severe deformation or missing sections may need point repairs before lining, adding $500 to $1,500 per repair point.
- Access: Pipes under concrete slabs or deep below grade require more setup time, increasing labor cost regardless of method.
- Permit requirements: Some municipalities require a licensed contractor for any work on the sewer lateral, which eliminates the DIY option entirely.
Common mistakes that blow pipe lining budgets
The most expensive mistake in any pipe lining project is accepting a contractor quote without asking what it excludes. Contractors often quote liner installation without including CCTV review, extra cleaning, or branch reinstatements, and those add-ons can push the final invoice 20 to 40 percent above the original number.
"Always ask your contractor for a line-item breakdown that explicitly lists pre-cleaning, CCTV inspection, liner installation, branch reinstatement, and post-installation inspection as separate costs. If any of these are missing, ask why."
Additional mistakes to avoid:
- Skipping the pre-inspection. Lining a pipe without a CCTV inspection first is like painting over rust. You will not know about collapsed sections or severe joint offsets until the liner fails.
- Underestimating permit costs. Permits can reach $1,000 in some Maine municipalities. Treat them as a fixed project cost, not an optional line item.
- Rushing the resin cure. Pulling heat too early or using an undersized curing source leaves soft spots that collapse under soil load within months.
- Ignoring styrene safety. CIPP resin systems that use styrene require proper ventilation and a respirator rated for organic vapors. Occupational exposure studies on CIPP confirm that emissions control is a real safety requirement, not a precaution you can skip.
- Skipping post-installation inspection. Without a final CCTV pass, you have no documentation of liner quality and no basis for a warranty claim if problems appear later.
To extend liner lifespan after installation, avoid pouring grease down drains, schedule hydro jetting every three to five years to prevent buildup, and address any root intrusion at nearby trees before it reaches the liner.
Key takeaways
The most cost-effective pipe lining outcome comes from matching the right method to your pipe's condition, building all ancillary costs into your budget upfront, and never skipping the pre- and post-installation CCTV inspections.
| Point | Details |
|---|---|
| Budget for all project costs | Include permits, camera inspections, cleaning, and reinstatements from the start. |
| Match method to pipe condition | CIPP suits cracked laterals; polyurea spray suits manholes and short sections. |
| Inspect before you line | NASSCO PACP-coded CCTV inspection prevents spending on the wrong repair. |
| Verify contractor quotes | Ask for line-item breakdowns to avoid 20 to 40 percent budget overruns. |
| Document post-installation | A final CCTV pass is your warranty record and quality proof. |
What I've learned after years of watching pipe lining projects go wrong
The homeowners and property managers who get the best value from pipe lining are not the ones who find the lowest quote. They are the ones who show up to the job with a CCTV inspection report in hand, a clear scope of work, and a contractor who can explain every line item without hesitation.
I have seen property managers spend $4,000 lining a pipe that needed a $600 point repair at one joint, simply because no one ran a proper inspection first. I have also seen DIY attempts where the resin was mixed at the wrong ratio, the liner cured unevenly, and the homeowner ended up paying a contractor to remove the failed liner and start over. Standardizing inspection-to-action workflows reduces these costly missteps, and that principle applies whether you manage one rental property or a hundred.
My honest advice: do the inspection first, always. If you are a property manager with multiple units, build a standardized inspection workflow so every pipe gets assessed the same way before any repair decision is made. If you are a homeowner considering DIY, be realistic about the resin wet-out and curing steps. Those are not tasks where "close enough" produces a lasting result. Hire a professional for the liner installation and save your DIY energy for the prep work, like clearing access and documenting defects with a rented camera. You will spend less overall and get a liner that actually lasts.
Bundling services also saves real money. If you need hydro jetting before lining and a camera inspection after, ask your contractor to price all three together. Most providers, including Trenchlessmaine, offer better rates when you combine pipe lining and inspection services into a single visit.
— John
How Trenchlessmaine can help you line pipes affordably
Trenchlessmaine specializes in trenchless sewer repair across Maine, offering CIPP lining, hydro jetting, and sewer camera inspections for residential and commercial properties. If you are weighing your pipe repair options and want a clear, itemized quote before committing to any method, Trenchlessmaine provides free consultations and transparent pricing with no hidden add-ons.
Their team uses NASSCO PACP-coded CCTV inspections to assess every pipe before recommending a repair method, which means you only pay for what your pipe actually needs. For homeowners and property managers across Maine looking for no-dig pipe lining solutions, Trenchlessmaine covers most of the state's cities with same-day or next-day service availability. Reach out for a personalized quote and find out which lining method fits your pipe condition and budget.
FAQ
What does pipe lining cost for a typical home?
Trenchless pipe lining costs between $1,900 and $6,000 for most residential projects, with an average of $2,900. Final cost depends on pipe length, diameter, condition, and whether permits and camera inspections are included.
Is CIPP pipe lining a DIY project?
CIPP lining is technically possible as a DIY project, but resin wet-out uniformity and curing control are difficult to achieve without professional equipment and experience. Most homeowners get better results and lower total costs by hiring a professional for the installation.
How long does a pipe liner last?
CIPP liners installed correctly last 50 years or more, while polyurea spray liners typically last 20 to 30 years. Lifespan depends on resin quality, proper curing, and ongoing maintenance such as periodic hydro jetting.
What is the difference between CIPP and sliplining?
CIPP installs a resin-saturated liner that cures in place inside the existing pipe, requiring no access pits. Sliplining inserts a smaller pipe inside the host pipe and requires excavated access at both ends, which adds cost and partially offsets its lower material price.
Do I need a permit for pipe lining in Maine?
Permit requirements vary by municipality, but many Maine towns require a permit for sewer lateral work. Permits can cost up to $1,000, so contact your local building department before starting any pipe lining project.