Sewer repairs have a reputation for turning your yard into a construction zone, cutting off your plumbing for days, and leaving behind a bill that feels twice what you expected. Knowing how to minimize sewer repair disruption before a project starts separates homeowners who coast through the process from those who lose sleep over it. The good news is that modern repair methods, smart preparation, and a few maintenance habits can make the difference between a multi-day ordeal and a repair that wraps up quietly in a single afternoon.
Table of Contents
- Key takeaways
- How to minimize sewer repair disruption: start with early detection
- Choosing the right repair method
- Steps to reduce disruption during the repair
- Post-repair verification and ongoing maintenance
- What experience has taught me about sewer repair disruption
- Disruption-free sewer repair with Trenchlessmaine
- FAQ
Key takeaways
| Point | Details |
|---|---|
| Catch problems early | Schedule a professional camera inspection every 1 to 3 years to find issues before they become emergencies. |
| Know your responsibility | Homeowners own the private lateral line from the house to the municipal main, not just the indoor plumbing. |
| Choose trenchless when possible | Trenchless methods like CIPP lining typically finish in 1 to 2 days and eliminate costly restoration work. |
| Prepare before the crew arrives | Clear the work area, arrange alternate parking, and confirm the project timeline in writing. |
| Maintain after the repair | Proper disposal habits and regular inspections prevent repeat disruptions for years to come. |
How to minimize sewer repair disruption: start with early detection
The most disruptive sewer repairs are almost always the ones nobody saw coming. Spotting warning signs early gives you time to plan, choose the right contractor, and select a repair method on your schedule rather than during a weekend emergency.
Common warning signs to watch for:
- Slow drains in multiple fixtures at the same time, not just one sink or toilet
- Gurgling sounds coming from drains when water runs elsewhere in the house
- A persistent sewage odor in the yard or near floor drains in the basement
- A strip of unusually green, lush grass running across your yard, fed by a leaking lateral acting as an effective fertilizer
- Soggy patches in the yard that don't dry out after rain
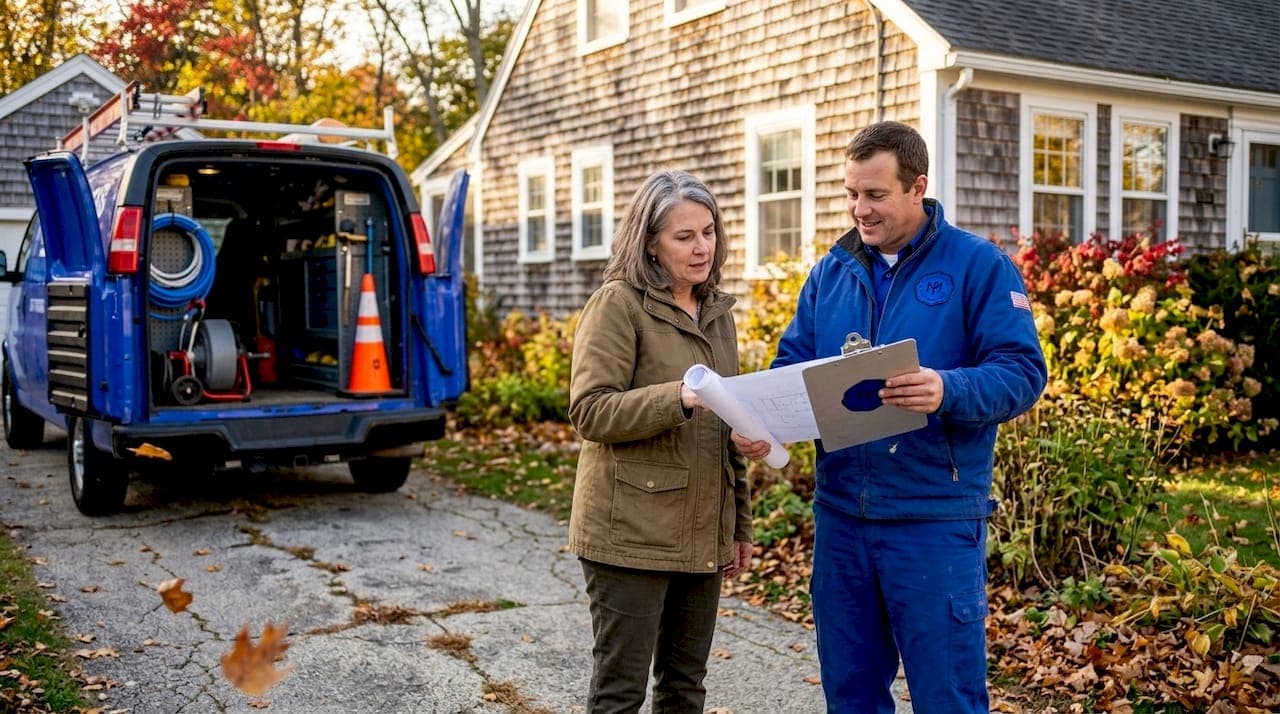
A professional sewer camera inspection is the fastest way to move from "something seems off" to a clear diagnosis. The technician runs a small camera through your lateral and identifies the exact problem: root intrusion, pipe deformation, offset joints, or buildup. That precision means your contractor recommends the right repair the first time.
One critical piece of information many homeowners miss: you are responsible for the entire private lateral sewer line, from where it exits your foundation all the way to the municipal main at the street. Most people assume the city handles everything near the road. That misunderstanding causes significant delays when repair work begins and the homeowner suddenly learns they need permits, access agreements, or utility locates they hadn't planned for.
Before any contractor sets foot on your property, locate your cleanout access point. Cleanouts provide direct access for cameras and cleaning equipment without any digging, and having one in place is one of the highest-return preventative investments you can make. If your home doesn't have one, ask your contractor to install it during the repair.
Pro Tip: Contact your local municipality at least a week before the repair start date to confirm permit requirements and arrange utility locating. Delays caused by missing permits are among the most preventable sources of extended project timelines.
Choosing the right repair method
The repair method your contractor uses has a bigger impact on your daily life than almost any other factor. Traditional open-cut excavation requires digging a continuous trench along the path of the lateral, removing landscaping, concrete, or paving along the way, completing the repair, and then restoring everything that was disturbed. Traditional excavation adds $3,000 to $8,000 in restoration costs on top of the base repair price, and the timeline typically runs 3 to 7 days.
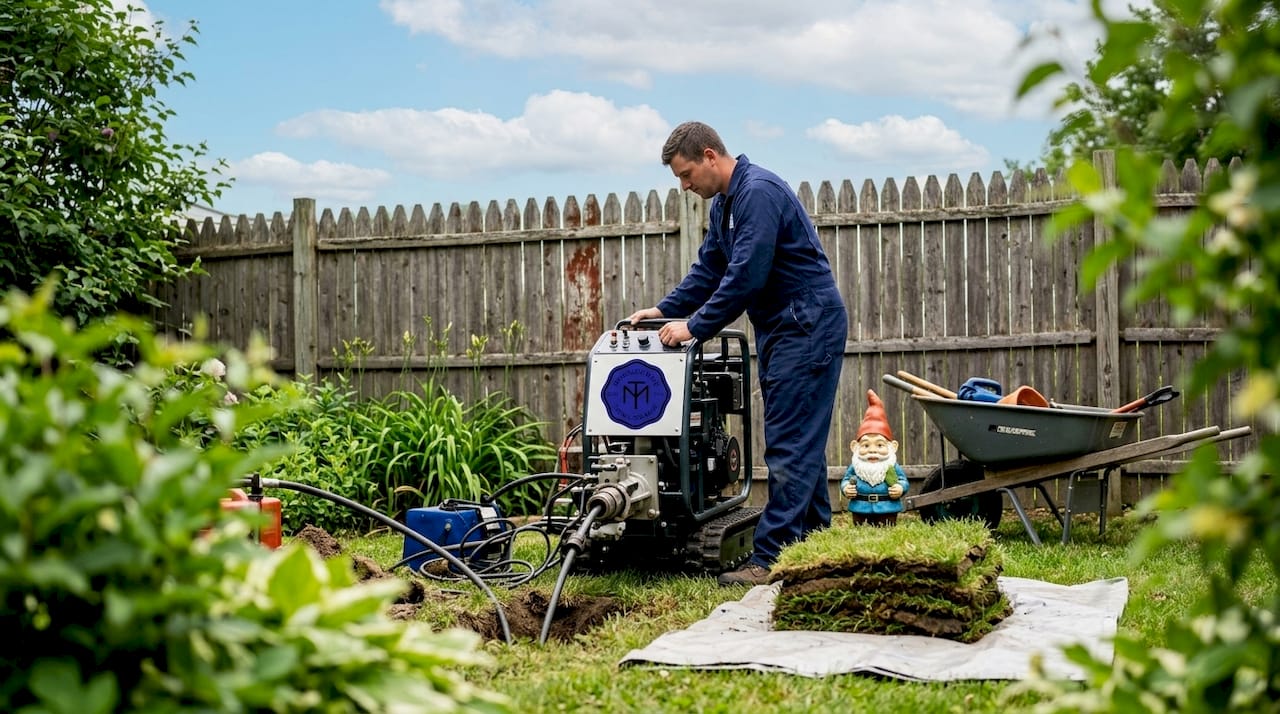
Trenchless methods work differently. Pipe bursting threads a new pipe through the old one while fracturing the existing pipe outward. Cured-in-place pipe lining, commonly called CIPP, inserts a resin-saturated liner into the existing pipe, inflates it against the pipe walls, and cures it in place to create a structurally sound new pipe inside the old one without removing the original. Both approaches use only two small access pits rather than a continuous trench, which preserves your lawn, driveway, and garden beds.
| Factor | Trenchless repair | Traditional excavation |
|---|---|---|
| Typical project timeline | 1 to 2 days | 3 to 7 days |
| Surface disruption | Minimal (2 small access pits) | Significant (full trench) |
| Restoration costs | Mostly eliminated | $3,000 to $8,000 added |
| Noise and dust | Low | High |
| Suitable pipe condition | Intact or moderately damaged | Severely collapsed |
| Best for paved surfaces | Yes | No |
Trenchless projects typically finish in 1 to 2 days, and because restoration work is minimal or nonexistent, the total cost often comes out lower than excavation even when the upfront labor rate is similar. When the sewer line runs beneath a driveway, patio, or landscaped bed, trenchless pipe lining is almost always the better choice on both cost and disruption grounds.
Trenchless methods do have limits. Severely collapsed pipes, pipes with major misalignment, or segments with significant offset joints may require at least partial excavation before lining or bursting can proceed. A pre-repair camera inspection is the only reliable way to determine whether your pipe qualifies. Professional contractors recommend this inspection specifically to avoid committing to a method that the actual pipe condition won't support.
Pro Tip: Ask your contractor to provide written documentation of the camera inspection findings before signing any repair contract. This gives you a baseline for choosing the right method and protects you if questions arise after the repair.
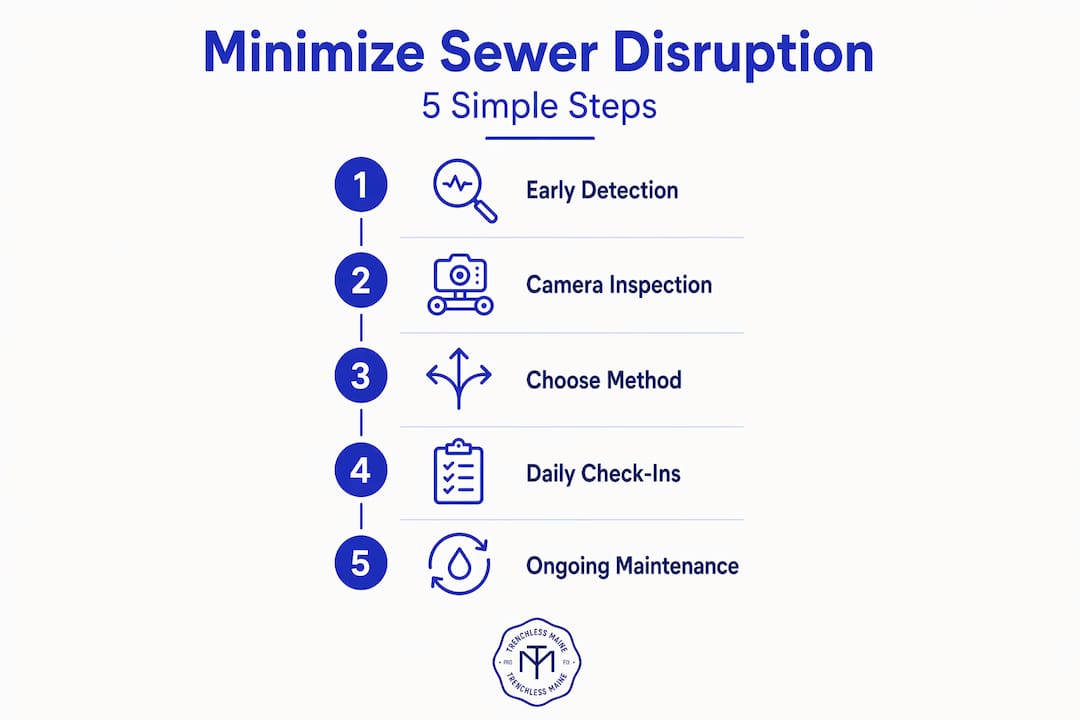
Steps to reduce disruption during the repair
Preparation on your end directly shortens the amount of time the crew spends on-site and reduces the chance of unexpected complications that stretch the project.
- Clear the work area the night before. Move outdoor furniture, potted plants, vehicles, and anything else stored near the repair path. A crew that arrives to a clear site starts work immediately instead of spending the first hour relocating your belongings.
- Confirm the exact plumbing outage window. Ask your contractor what time water service will be interrupted and when it will be restored. For most trenchless projects, this window is just a few hours. Plan bathroom use, dishwashing, and laundry around it.
- Arrange alternate parking or pedestrian access early. If the lateral runs beneath your driveway, your vehicles will need to be elsewhere. Coordinate this with neighbors or a nearby lot before the crew arrives.
- Communicate access needs to all household members or tenants. Property managers especially need to give residents enough notice to plan their day. Posting written notice 48 hours in advance is a reasonable minimum.
- Ask the contractor about noise reduction practices. Professional crews working on trenchless repairs use equipment that generates far less noise than jackhammering concrete. If your project involves any surface cutting, ask whether work can be scheduled during mid-morning hours to reduce early morning and evening disturbance.
- Keep children and pets away from the work zone. This speeds up the crew's work and avoids safety issues around open access pits or pressurized equipment.
Pro Tip: Request a daily check-in from your project manager during multi-day jobs. Knowing what to expect each morning prevents the frustration of unexpected surprises and helps you manage any tenant or household scheduling needs.
Post-repair verification and ongoing maintenance
Finishing the repair is not the finish line. Verifying the work and committing to a maintenance routine are what turn a one-time fix into long-term protection against repeat disruptions.
After any sewer repair, insist on a post-repair camera inspection. This confirms the liner is properly seated, the pipe walls are smooth, and there are no voids or gaps left behind. Many reputable contractors include this as standard, but if yours doesn't offer it, request it explicitly. For permitted work, your municipality may also require a final approval before the permit closes.
Maintenance habits that prevent future emergency repairs:
- Schedule a camera inspection every 1 to 3 years, particularly if your home has older clay or cast iron pipes or mature trees in the yard
- Have hydro jetting performed when inspections show buildup or slow flow developing, rather than waiting for a full blockage
- Never pour grease, cooking oils, or dairy products down kitchen drains; these solidify in pipes and create blockages that compound over time
- Keep flushable wipes and grease out of your drains entirely; despite the label, wipes do not break down in sewer systems and are a leading cause of preventable failures
- Monitor trees planted near your lateral and consult an arborist about species with aggressive root systems that are known for root intrusion
| Maintenance task | Recommended frequency | Purpose |
|---|---|---|
| Camera inspection | Every 1 to 3 years | Early problem detection |
| Hydro jetting | As needed (or annually for high-risk lines) | Clear buildup before it blocks |
| Grease trap cleaning | Every 1 to 3 months (if applicable) | Prevent grease buildup |
| General plumbing check-up | Annually | Catch minor issues before they grow |
Scheduled inspections and hydro jetting shift your approach from reacting to emergencies to preventing them. That shift is what keeps your sewer out of your daily life for years at a time. You can read more about how trenchless repair cuts project time to understand how modern technology supports that longer-term protection.
What experience has taught me about sewer repair disruption
I've worked alongside homeowners who handled sewer repairs with barely a shrug and others who endured weeks of confusion, cost overruns, and torn-up yards. The difference was almost never luck.
The single most common mistake I see is homeowners assuming the city owns and maintains the entire line from house to main. Once you understand that lateral responsibility falls on the homeowner all the way to the municipal tap, your approach to planning changes immediately. You start thinking about permits, about access, about getting ahead of problems before you're calling a contractor at 9 PM on a Friday.
I'm also direct with people about this: trenchless isn't the answer to every sewer problem. Some pipes are too far gone, and a partial excavation is unavoidable. What I've found in practice, though, is that contractors who lead with camera inspections consistently get better outcomes, spend less time on-site, and leave properties looking like nothing happened. The ones who skip that step often end up backtracking.
My honest advice is to treat your sewer lateral the way you treat your roof. You don't wait for water pouring through the ceiling to call someone. Schedule an inspection every couple of years, take the results seriously, and you'll likely never experience the kind of disruptive emergency repair that sends homeowners searching for answers at midnight.
— John
Disruption-free sewer repair with Trenchlessmaine
If you're ready to protect your property and get ahead of sewer problems before they become emergencies, Trenchlessmaine has the tools and experience to make that happen with minimal disruption to your home or schedule.

Trenchlessmaine specializes in no-dig repair technology including CIPP lining, pipe bursting, and full sewer assessments across Maine. Their hydro jetting service clears buildup before it turns into a blockage, and their camera inspection team gives you a clear picture of your pipe's condition so you can plan on your terms. With over 50 years of combined expertise and warranties up to 50 years on completed work, Trenchlessmaine delivers repairs that last. Contact them today to schedule an inspection or request a free quote.
FAQ
What is the fastest way to minimize sewer repair disruption?
Choosing a trenchless repair method like CIPP lining is the most effective single step. These projects typically finish in 1 to 2 days and require only small access pits instead of a full trench, keeping your property largely intact.
How do I reduce sewer repair costs?
Catching problems early through regular camera inspections avoids emergency call-out fees and keeps repair scope small. Choosing trenchless methods also eliminates the $3,000 to $8,000 in restoration costs that traditional excavation typically adds.
How often should I schedule a sewer inspection to avoid disruption?
Most plumbing professionals recommend a camera inspection every 1 to 3 years, with more frequent checks for homes with older pipes or mature trees growing near the lateral line.
Am I responsible for the sewer line all the way to the street?
Yes. Homeowners are responsible for the private lateral sewer line from the foundation of the house all the way to the municipal main connection at the street, not just the indoor plumbing.
Can trenchless repair work on all sewer pipes?
Not always. Severely collapsed pipes or sections with major misalignment may require partial excavation before trenchless methods can be applied. A pre-repair camera inspection determines which approach is appropriate for your specific pipe condition.